Checkpoints or snapshots (in previous versions of Hyper-V) are a useful tool for testing patches or other significant changes to a virtual machine.
Hyper-V checkpoints allow administrators to easily save the existing state of a virtual machine before any changes are made. If a problem occurs due to the changes, the virtual machine can be rolled back to a previous state.
You can work with multiple checkpoints too. This a very useful feature in a development environment.
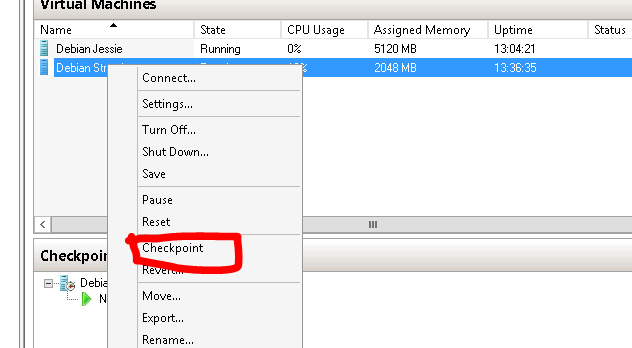
Create a checkpoint
To create a checkpoint simply right click on the virtual machine and select “Checkpoint”. The status column will show “Creating Checkpoint” followed by a progress percentage.
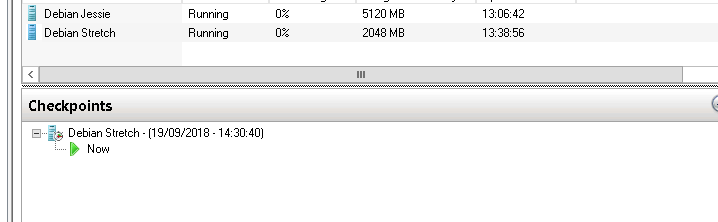
When you select the virtual machine from the list of VMs, the checkpoints will be displayed in the checkpoint pane.
What happens when I create a checkpoint? If you navigate to your virtual hard disks folder you will see a .avhdx file. The virtual machine is configured to use the AVHDX file. If you look at the hard drive settings of the VM you will see it is configured to use the .avhdx file instead of the original .vhd.
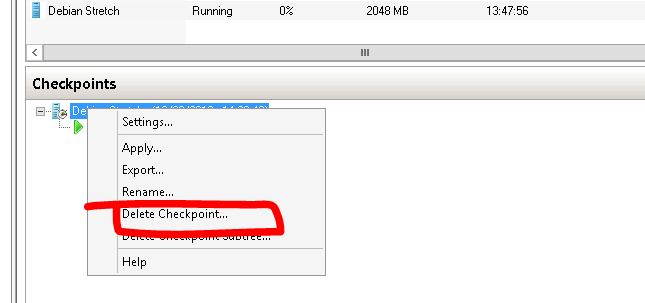
Deleting a checkpoint
Checkpoints can consume vast amounts of disk space. If you are happy with the OS update, software patch etc then it’s important to remove the checkpoint. To remove the checkpoint, simply right click on the snapshot and select “Delete Checkpoint”. The checkpoint will be removed. During the removal process the checkpoint contents (stored in a AVHDX file) will be merged with the parent.